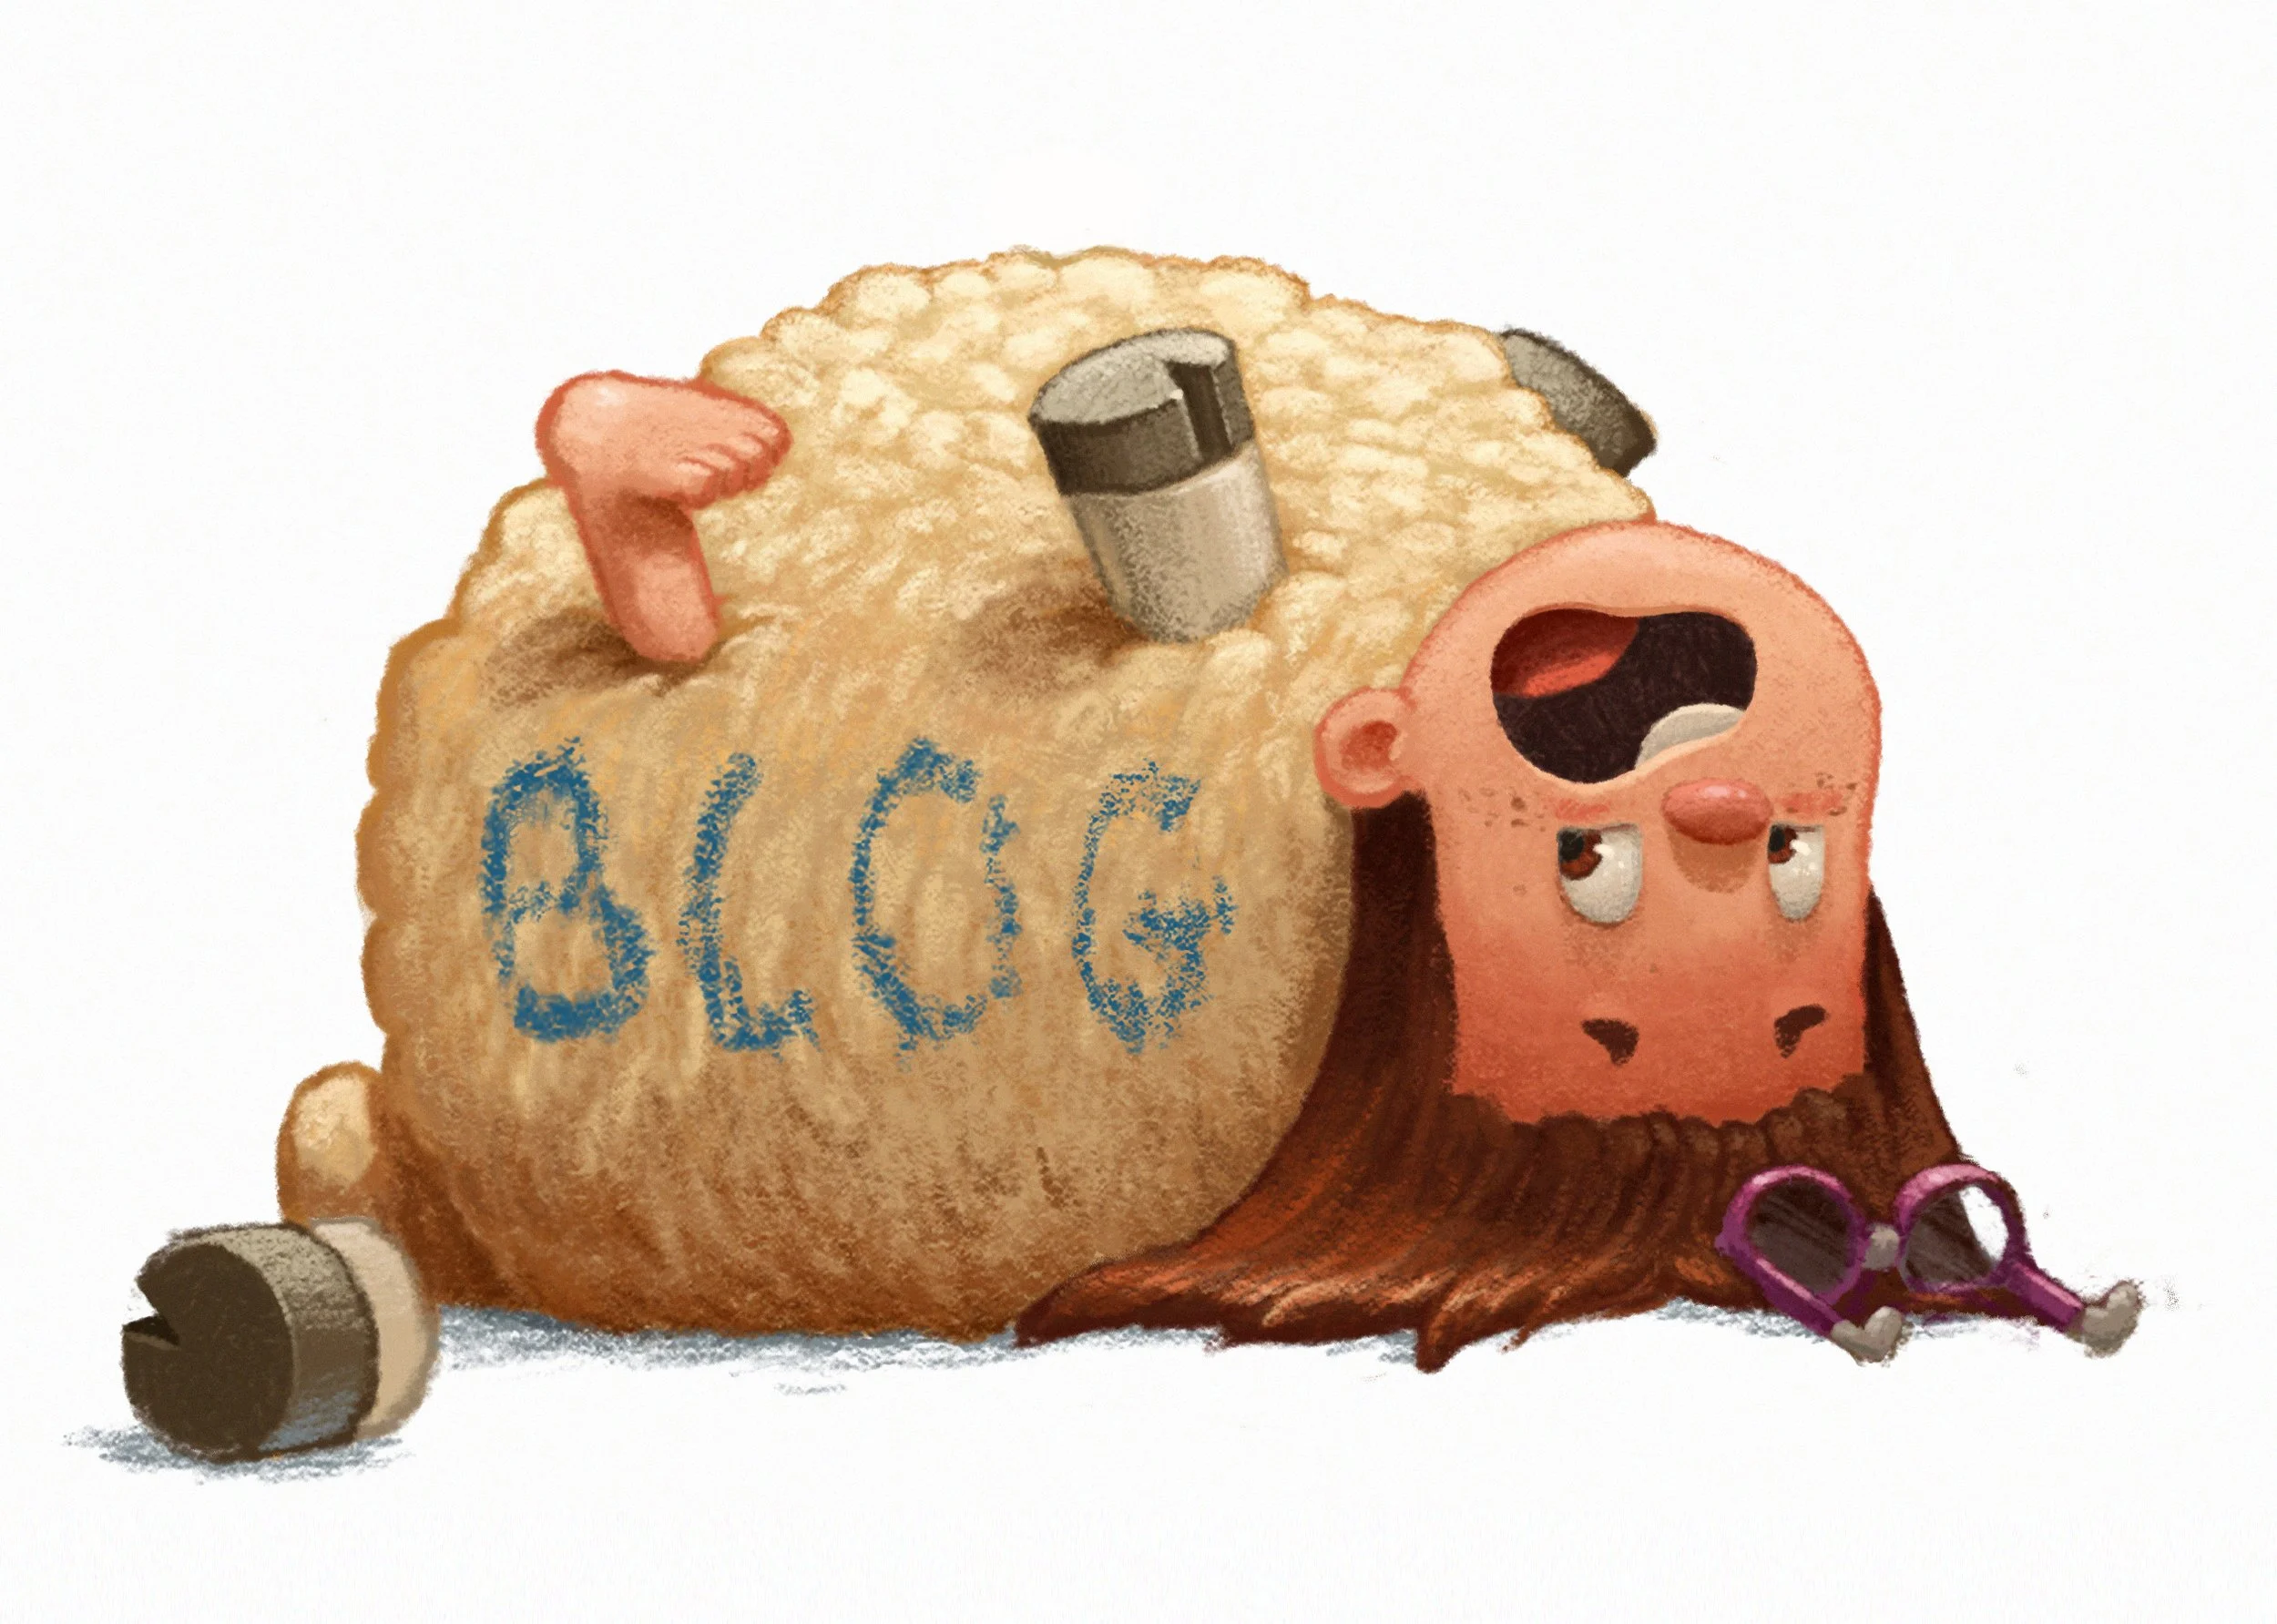
For the recent Valentine’s day I wanted to paint something cute that would be good for the ongoing ladybug series and as a colorful piece for social media and my portfolio. I touched upon some of my painting process in the last blog post and I wanted to show it in a simplified way that would hopefully help others who enjoy this art style.
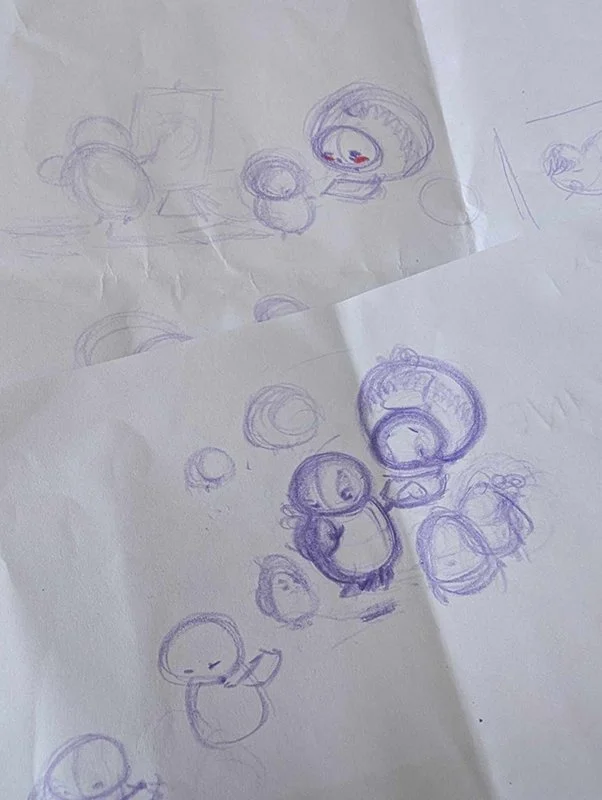
Sketching
I often start on paper as I feel it brings out better ideas that on a tablet. My first thoughts were of a ladybug painting Valentine day cards, however I decided on including a bee to be her admirer and (I later switched up these roles as I felt that she would be the more dominant character)
Painting Process
I try to keep my workflow as simple as I can by taking on one stage at a time. The image below shows a rough view of this process.

Thumbnail Sketch
Line Art
Neutral Colors
Shadow
Light
Details
Painting the Bee

A - Spend time on the linework to avoid wasting time making changes later on.
B - Fill the area with color and lock “Transparent Pixels” (Layer Window) This gives you the freedom to stay within those boundaries.
C - Paint in the neutral colors. I went with orange/red for the notebook and tie to compliment the color of the ladybug
D - Added a hue/saturation with a layer mask to darken everything (I personally like the work from dark to light) and paint in the shadow areas.
E - Focus on the light source and start painting in the lighter areas. Sometimes I will use a soft light layer or overlay, however in this case it weas a normal layer
F - Build up the colors slowly. Highlights need to stand out in contrast with whats beside it so avoid making everything too light.
G - I fill in a color dodge layer with pure black and lock it to the main painting. Then use a grey on the mask layer to enchance their vibrancy.
Thank you for reading and let me know in the comments if you have any questions or if there is anything you would like to see more of in future blog posts.